How to Track Your Ride on Strava
Master the Strava app with these pro tips to ensure your rides are accurately recorded.
For virtual rides like our CycloSportsEndurance events, tracking your activity properly is critical. Strava serves as your digital race chip, recording your distance, elevation, and speed.
1. Ensure GPS Accuracy
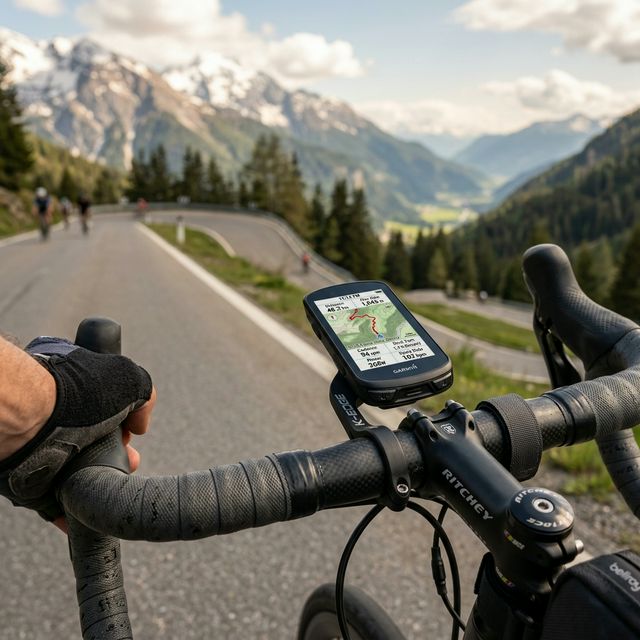
Before you hit the record button, ensure your phone or bike computer has a solid GPS lock. Stand in an open area for a few seconds. If you find your rides often cut corners or feature jagged lines, turn off battery-saver modes on your phone, as these frequently restrict GPS polling rates to save power.
2. Managing Auto-Pause
For casual riding, auto-pause is fantastic. It stops the clock while you wait at stoplights. However, for a competitive event, it's highly recommended to disable auto-pause. Race times are usually calculated on elapsed time, not moving time. Auto-pause can occasionally lag or fail to un-pause if you accelerate slowly or are in heavy tree cover.
3. Final Verification and Syncing
Once you finish your ride, double-check that the distance meets your category requirement (e.g., 20KM or 50KM) before hitting save. Ensure you assign the ride as a "Race" or "Virtual Ride". Finally, share the raw link safely to the race organizers.